Building Your First Weed Wacker Puller: A Beginner’s Guide
Building a competitive weed-wacker-class puller is one of the most rewarding small projects in motorsport: the parts are cheap, the tools are ordinary, and the engineering is honest. This guide walks through the decisions that matter, in the order you will face them.
Pick a class before you buy anything
Class choice drives every other decision. A stock truck build caps you at 33 cc and 21 pounds, rewarding lightness and traction. A modified build frees the engine rules entirely but demands a chassis that survives far more torque. First-time builders should start stock: the limits teach you what actually makes a puller work.
Chassis and driveline basics
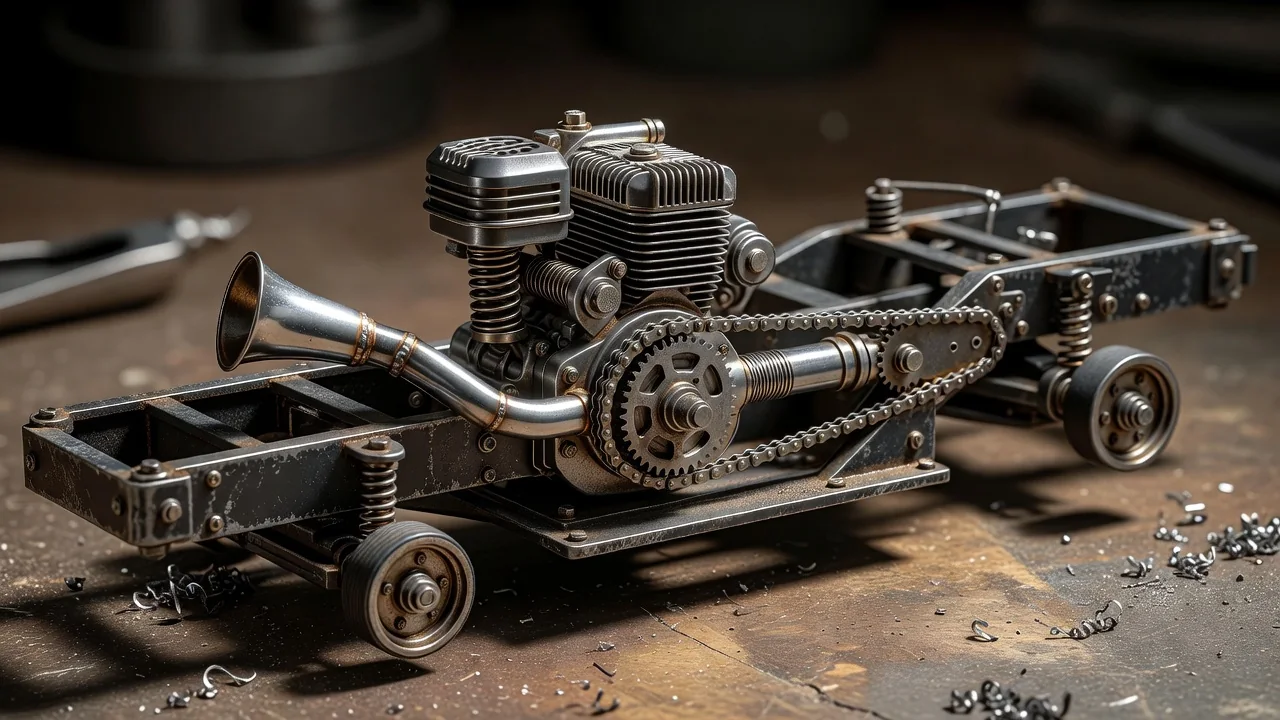
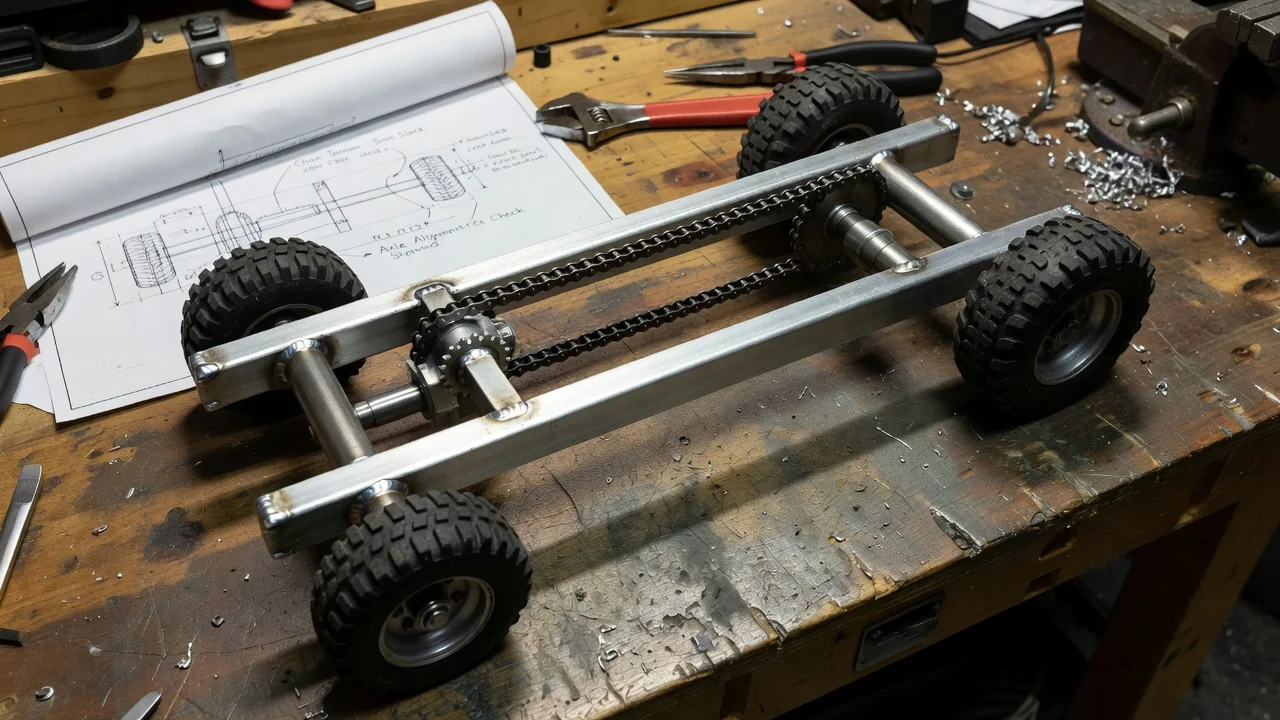
The chassis can be a ready-made RC platform or a home-built frame, but it must put the engine's power to the rear wheels without flex. Chain drive to a solid rear axle is the classic solution: simple, strong and easy to gear. Plan for chain covers from the first sketch — they are a safety requirement, not an accessory.
The transmission lesson from the club's early days still applies: weed wacker drivetrains could not survive pulling torque, which is why the sport moved to chainsaw-class engines with proper gears and pulleys. Build the driveline for twice the load you expect.
Weight is your tuning tool
In pulling, weight is not the enemy — misplaced weight is. You want the machine at the class limit, with as much of it as practical over the rear axle without lifting the front end on the hook. Removable ballast plates let you adapt to different track surfaces.
Tires and hitch geometry
Tire choice follows the rulebook: hobby tires in the stock classes, agricultural bar tread up to 13.5 inches in the modifieds. The hitch is a rigid mount with a 5/16-inch hole, at least 4.5 inches off the ground. Small changes in hitch height change weight transfer dramatically, so make the mount adjustable if your class allows it.
A sensible first-build checklist
- Choose the stock class and read every line of its rules before cutting metal;
- Source a 33 cc garden engine with a healthy clutch and easy parts availability;
- Design chain drive to a solid axle with full chain guards;
- Build the hitch to rulebook dimensions, then add adjustability;
- Fit a kill switch you can reach instantly, and cover the flywheel;
- Leave room for ballast so you can tune weight per track.
What a first build typically involves
| Stage | Main decision | Common mistake |
|---|---|---|
| Planning | Class and rules | Building before reading the rulebook |
| Chassis | Ready-made vs home-built | Frame flex under load |
| Driveline | Gearing and chain line | Underrated clutch and driveline parts |
| Weight | Ballast placement | Building under the weight cap |
| Safety | Kill switch, covers | Treating guards as an afterthought |
Test before the event
Run the machine on dirt at home: check that it tracks straight under load, that the clutch engages predictably and that nothing loosens after a dozen runs. The builders who win on event day are the ones who finished their troubleshooting in the driveway.